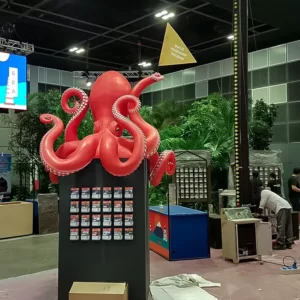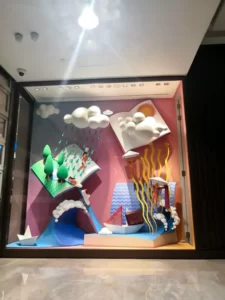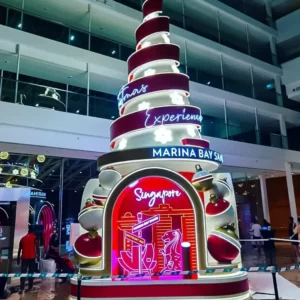
3D fabrication has transformed the world of prop making, allowing designers, cosplayers, and filmmakers to create highly detailed, lightweight, and durable props with unparalleled accuracy.
With 3D printing, CNC machining, and laser cutting, creators can now bring complex fantasy weapons, armor, and movie props to life faster and with greater precision than ever before. But how does this process work, and why is it replacing traditional prop-making techniques?
In this guide, we’ll explore the technology behind 3D fabrication, how 3D printing compares to traditional methods, and how to design, print, and finish your own props for professional results.
Key Takeaways
- 3D fabrication in prop making uses 3D printing, CNC machining, and laser cutting to create highly detailed props.
- 3D modeling software like Blender, ZBrush, and Fusion 360 helps designers create digital blueprints for props.
- FDM, SLA, and SLS printing offer different benefits for durability, detail, and cost-effectiveness.
- Post-processing techniques like sanding, priming, and painting enhance the final look of 3D-printed props.
- 3D scanning allows for replicating existing props, making the technology useful for film and museum restorations.
What is 3D Fabrication in Prop Making?
3D fabrication refers to the process of digitally designing and manufacturing props using computer-aided tools such as 3D printers, CNC routers, and laser cutters. Unlike traditional hand-sculpted props, 3D fabrication allows for extreme precision, repeatability, and customizations.
This technology is widely used in Hollywood, cosplay, and theme parks to create props that are:
- Lightweight yet strong
- Highly detailed and accurate
- Easily replicable for multiple copies
- More cost-effective in large-scale productions
Traditional vs. 3D Fabrication in Prop Making
| Feature | Traditional Prop Making | 3D Fabrication |
|---|---|---|
| Time Efficiency | Takes weeks/months | Faster production |
| Accuracy | Hand-sculpted variations | Precise digital design |
| Customization | Limited by manual effort | Infinite customization |
| Durability | Depends on materials | Stronger with reinforcements |
| Replication | Requires mold-making | Easily repeatable prints |
Want to streamline your design and fabrication process? Check out our 3D printing and fabrication services for professional-grade results.
How Does 3D Fabrication Work?
3D fabrication involves three main steps:
- Designing & Modeling the Prop
- Fabricating (3D Printing, CNC Cutting, or Laser Engraving)
- Post-Processing & Finishing
Let’s break down each step:
Step 1: Designing & 3D Modeling Your Prop
Before anything is physically created, a digital 3D model must be designed. This model serves as the blueprint for the final prop.
Best Software for 3D Modeling in Prop Making:
- Blender – Free, versatile, great for sculpting
- ZBrush – High-detail sculpting for intricate designs
- Autodesk Fusion 360 – Precision modeling for mechanical props
- TinkerCAD – Beginner-friendly for basic designs
Pro Tip: Download free 3D models from platforms like Thingiverse or CGTrader if you don’t want to model from scratch.
Step 2: 3D Printing & Fabrication Techniques Once the model is complete, it’s time to fabricate the prop. Depending on size, material, and durability needs, creators use:
1. 3D Printing for Prop Making
- FDM Printing (Fused Deposition Modeling) – Best for large, strong props
- SLA Printing (Stereolithography) – High-detail resin prints for small, intricate parts
- SLS Printing (Selective Laser Sintering) – Great for flexible or industrial-grade props
Best Materials for 3D Printed Props:
- PLA (Polylactic Acid) – Affordable and easy to print
- ABS (Acrylonitrile Butadiene Styrene) – Stronger, heat-resistant, ideal for movie props
- Resin (SLA Printing) – Extreme detail, great for cosplay accessories
2. CNC Machining & Laser Cutting for Props
- CNC Machining – Used for carving wood, acrylic, and metal props
- Laser Cutting – Ideal for flat, intricate details like engraved symbols
Best Use Cases:
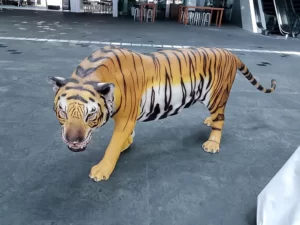
- Fantasy Swords & Weapons – 3D printed hilts + CNC-machined blades
- Armor Pieces – 3D printed for detail, laser-cut foam for flexibility
Need professional help? Our CNC cutting services offer high-precision manufacturing.
Step 3: Post-Processing & Painting Your 3D Props
Once printed, raw 3D prints often have layer lines and require post-processing to achieve a realistic look.
Best Finishing Techniques:
- Sanding & Priming – Removes rough edges and smooths surfaces
- Filler Primer – Covers visible layer lines for a polished look
- Hand Painting & Airbrushing – Adds color, weathering, and realistic wear
Pro Tip: Use epoxy resin coating for extra durability and a smooth, glass-like finish.
Final Thoughts on 3D Fabrication in Prop Making
3D fabrication has revolutionized the prop-making industry, making it easier than ever to create custom, high-detail, and production-ready props. Whether you’re a film studio, theater company, or cosplayer, 3D printing and CNC fabrication provide endless creative possibilities.
Want to bring your prop designs to life? Explore our 3D fabrication services for custom prototypes and high-quality prints.
FAQ: 3D Fabrication in Prop Making
How long does it take to 3D print a prop?
It depends on size and complexity. Small props can take a few hours, while large pieces may require multiple days.
Are 3D-printed props strong enough for film use?
Yes! By using reinforced filaments, post-processing, and internal supports, 3D-printed props can be extremely durable.
What’s the best way to smooth 3D-printed props?
Use sanding, filler primer, and epoxy coatings for a seamless finish.